If you grow Monsteras, Philodendrons, or Epipremnums, you’ve probably noticed those roots escaping from the stems. Some are tiny and discreet. Others seem to have plans of their own! 😂 But what are aerial roots for, why should you use a moss pole, and what have I learned from my own plant experiments here at My Greener Home?
Whether you are trying to get bigger leaves or just want to tame the botanical chaos, letting your climbing aroids climb is the ultimate game-changer.
Aerial Roots: More Than Just Decoration
In nature, climbing aroids use aerial roots to attach themselves to trees and other surfaces. Depending on the species and growing conditions, these roots also absorb moisture and nutrients from their surroundings.
One of my absolute favourite things about using moss poles is watching how quickly a plant discovers the moss. Before long, a tiny new root tip appears! I also love observing how differently individual plants behave. Some produce aerial roots everywhere, while others seem much more selective.
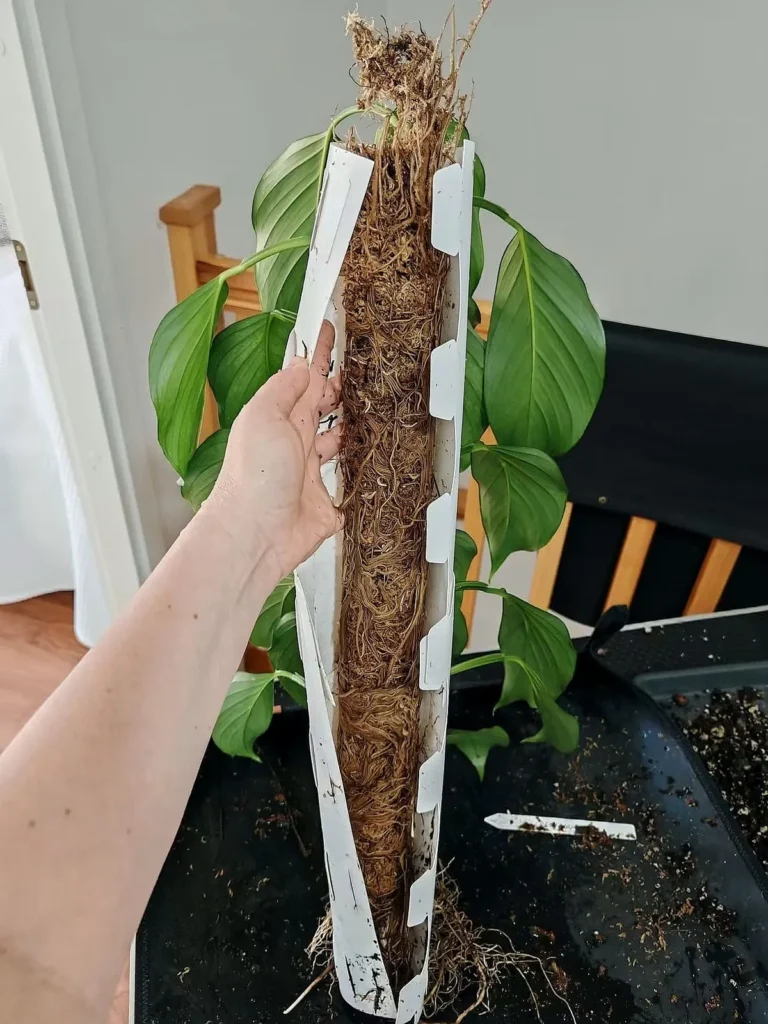
Why Use a Moss Pole for Monsteras and Aroids?
A moss pole provides physical support for climbing plants. Unlike an ordinary wooden stake or coco coir pole, a real moss pole offers a living, vertical rooting environment.
- Double the resources: When roots establish themselves in suitably moist moss, they can access additional water and nutrients alongside the main root system growing in the potting mix.
- Mature foliage: A moss pole encourages climbing aroids to grow upwards, which signals the plant to develop larger, more mature foliage and beautiful fenestrations.
Note: Leaf size and development depend on several factors, including light, nutrition, genetics, and plant maturity. A moss pole isn’t magic, but it helps create the perfect conditions for growth! 🌱
Start Early for the Best Results
When I first started experimenting with moss poles in my plant collection, I sometimes attached plants that had already grown quite long 🫣 I hadn’t fully grasped the concept yet, and those mature plants didn’t benefit from the pole in quite the same way.
These days, I give my Monsteras a moss pole as soon as the first aerial root starts emerging!
This way, the roots can grow directly into the moss right from the start, allowing the plant to establish itself securely as it climbs. With the right moisture and nutrition, the plant can access resources from both the pole and the potting mix from day one.
Choosing the Right Moss Pole: Why I Use PlantScraper
If you are looking for the perfect option to support your climbing plants, I highly recommend checking out PlantScraper.
Honestly, the very first reason I bought these poles was purely aesthetic – they just look so good and fit perfectly with the rest of my monochrome home decor! 🖤🤍🖤
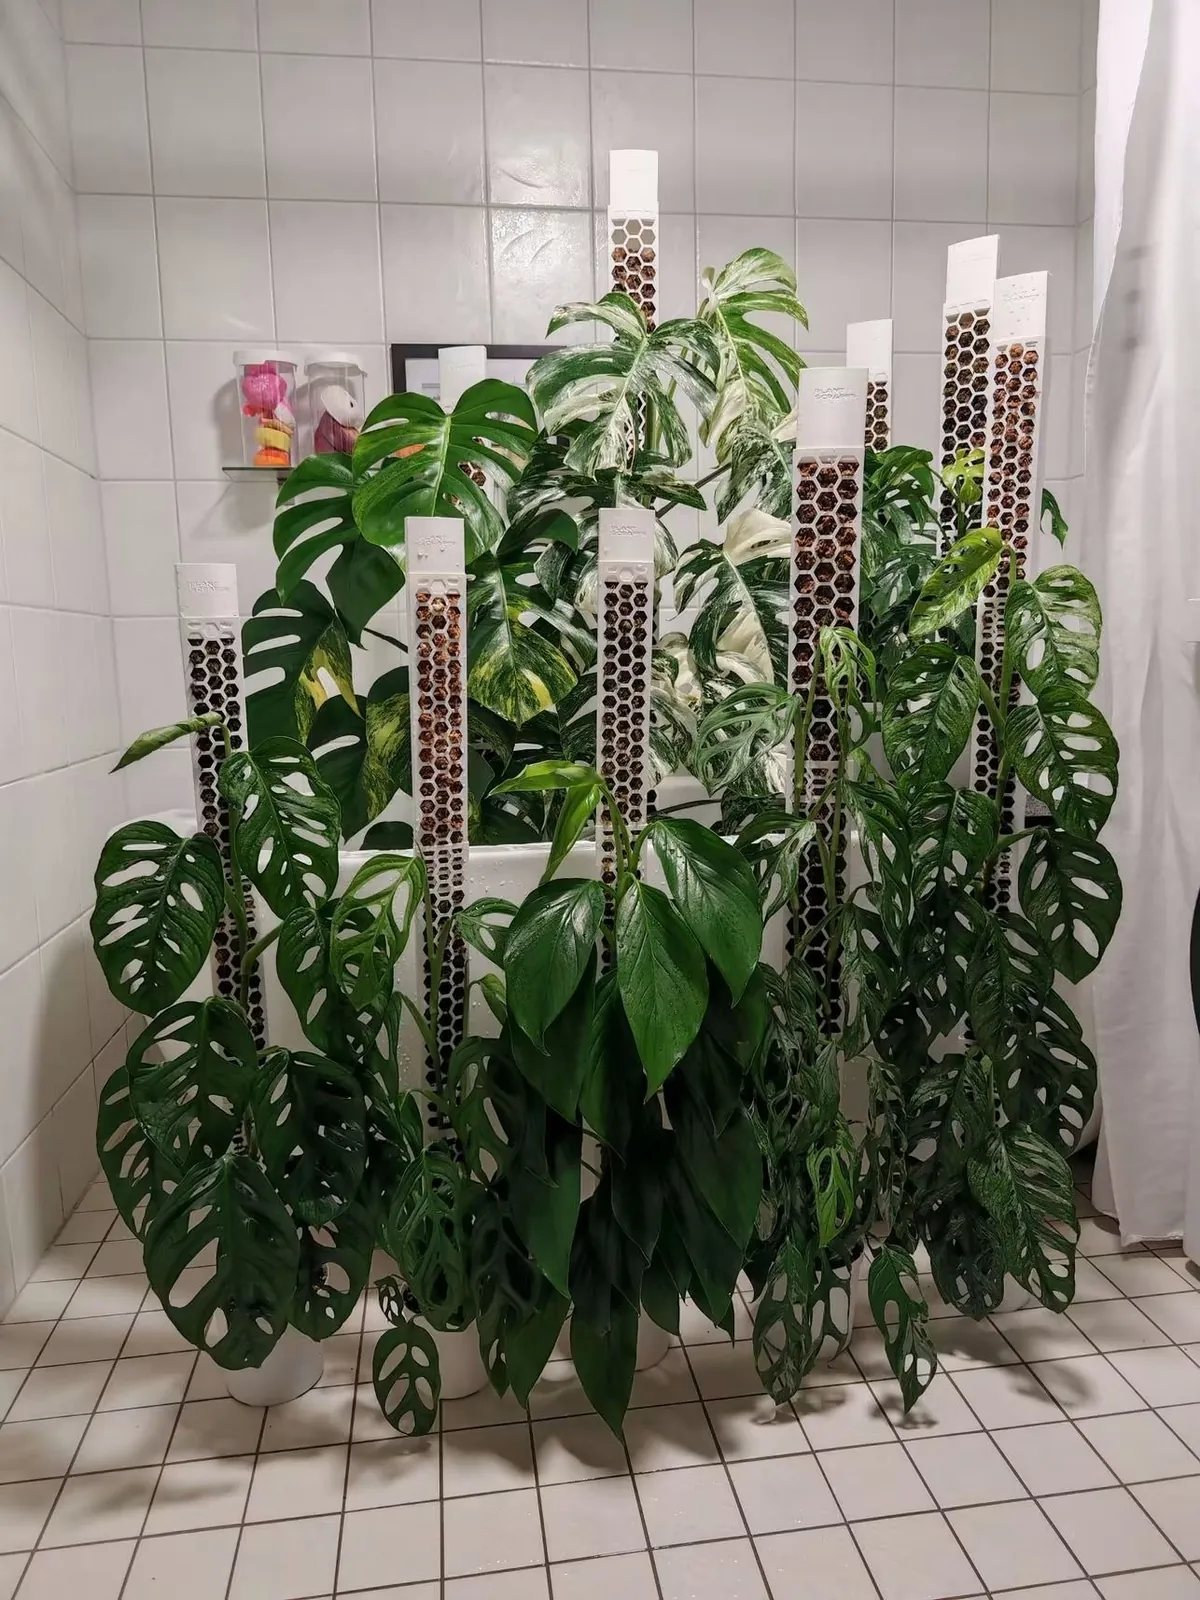
But beyond the looks, their D-shaped design is incredibly functional. It combines an open rooting face with a closed plastic back, which retains moisture and keeps the moss filling contained much better than a fully open DIY wire pole. It also offers more rootable space than a solid coco pole, and that closed back means much less mess around your floors 😅
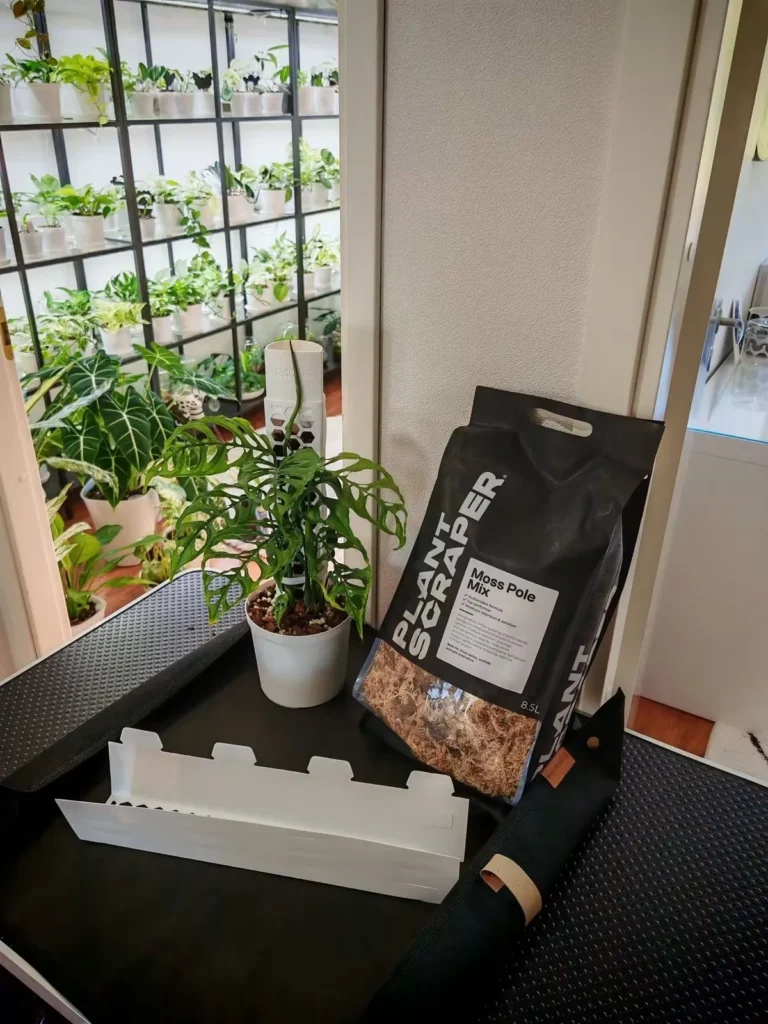
The poles are fully extendable, with each section connecting to the next through an overlapping joint. You’ll find assembly guides for all options on the official website, including setups with anchors, self-watering models, and handy estimates of how much sphagnum moss each pole size requires.
Size Matters. Apparently… 🤭
When I first started using moss poles, I chose the wrong sizes for my Monsteras. These days, I go for the largest option available—and honestly, even that could be bigger! My ideal size range would be XS, S, M, L, XL, and Monster (=Monstera) 😂
Choose for the plant you want to grow, not just the size it is today.
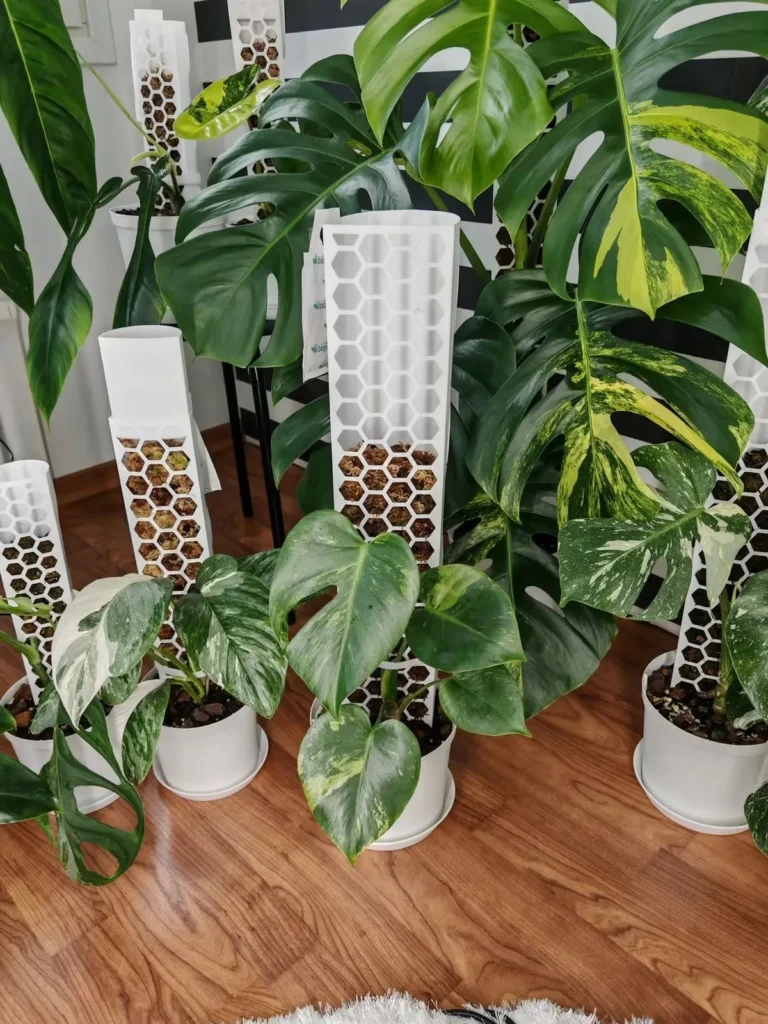
When I put a tiny Monstera against an XL pole, the sight is pretty hilarious for the first six months. But trust the process! A year later, the pole is practically invisible behind all that lush, green growth. And that’s exactly the point 🤭
A Little Tip for Attaching Your Plant
I use the plant tape to secure the stem against the pole while the plant establishes itself. My little trick? I use the tape inside out, with the soft side against the plant rather than the rough, scratchy side 🥰
Always support the main stem, never the leaf stalks (petioles). The petioles need room to move freely and position their leaves toward the light naturally.
When Your Monstera Outgrows Its Moss Pole
Eventually, you may end up with a plant and moss pole that have reached their maximum height. You decide what the maximum height is for your home 🤗 And then comes the big question: where on earth do I cut this plant?
Here is my step-by-step routine for chopping and extending:
- Cut the stem: First, I cut through the plant’s stem with a clean knife, roughly at the joint where I want to separate the pole sections.
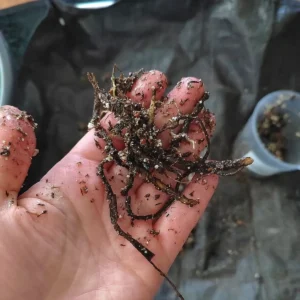
- Separate the sections: Then I grab the upper and lower sections and start gently twisting and lifting them in opposite directions. Sometimes they come apart easily; other times, it’s a proper wrestling match! 😄 Aerial roots occasionally grow across the joint and lock the sections together, so those may need to be snipped first.
- Repot the top: Once I have the top section separated, it’s time to get practical. I remove some of the moss from the bottom of the upper pole and replace it with my favourite chunky aroid mix. Then I place the pole and plant into a new pot and fill the remaining space with more mix.
And just like that, I now have two plants growing on moss poles, each with its own pot!
I always continue growing the top section myself. The top part already has those beautifully large leaves—and for me, achieving those giant leaves is the ultimate goal of moss pole growing! 🤩 The lower part can then find a new home with someone else, or I can chop it into cuttings for propagation.
Bonus Tip: I’m a big fan of reusing what I can. I rinse the old moss, squeeze out the excess water, and let it dry for future use. The pole itself gets a good wash and can be used again as an extension when needed.
Let Them Climb
A moss pole isn’t essential for every climbing plant, but it provides valuable support and a place for aerial roots to thrive. I love watching those roots find their way into the moss, seeing new root tips appear, and discovering how uniquely each plant grows.
I admire and follow, and the aerial roots, in turn, search, settle, and bring the plant to life in a whole new way. It truly is the ultimate partnership between a plant and its grower 💚